History
A new modern art piece pays homage to Johann Gutenberg mere months after the 550th anniversary of his death. Johann Gutenberg revolutionized the printing process. Determined to make printing cheaper and easier, he completed the first book by movable type. The Gutenberg Bible was a show stopper. Documentation found shows that he printed 200 print copies and 30 velum copies . Today, very few copies exist and Yale University is lucky enough to have a complete version.
Today this copy is in the Beinecke Library but it was first housed in the Gates Classroom. This bible was the first book of its kind and it paved the way for modern printing. In the libraries at Yale it sits among the future that it created. This dichotomy between modern and historical exists throughout Yale. When a campus is as old as Yale is, there are often unique architectural elements. This creates the issue of highlighting both modernization and preservation.
The Project Begins
Richard Rose is a lecturer, critic, and master printer. He was selected to create a piece of art for the Gates Classroom. In Yale’s quest to modernize different segments of their campus they took an existing piece of art away. This left behind a space that the entire classroom centered around. As the go-to framers and curators for Yale, our shop was contacted to make this project work. The unique part of this was the architecture of the classroom. It included a wooden frame flush with the surrounding intricately carved woodwork. This meant that the piece had to be custom made to fit the context visually as well as the physical space left behind by the previous art.
Richard set to work researching the architectural history as well as the Gutenberg Bible, and we began brainstorming. Step one was removing the existing piece. In doing so we were able to measure the space that the piece would occupy. Then we determined how we would install it without disturbing the existing architectural artwork.
Determined, Richard brought us several drafts, each one more detailed than the last. Each time we looked at wood samples, resolving to find the perfect one to use to create the frame. The goal was to highlight his work and pay respect to the beautiful historical woodwork. The result was a one of a kind hand-made wooden frame.
The Final Piece
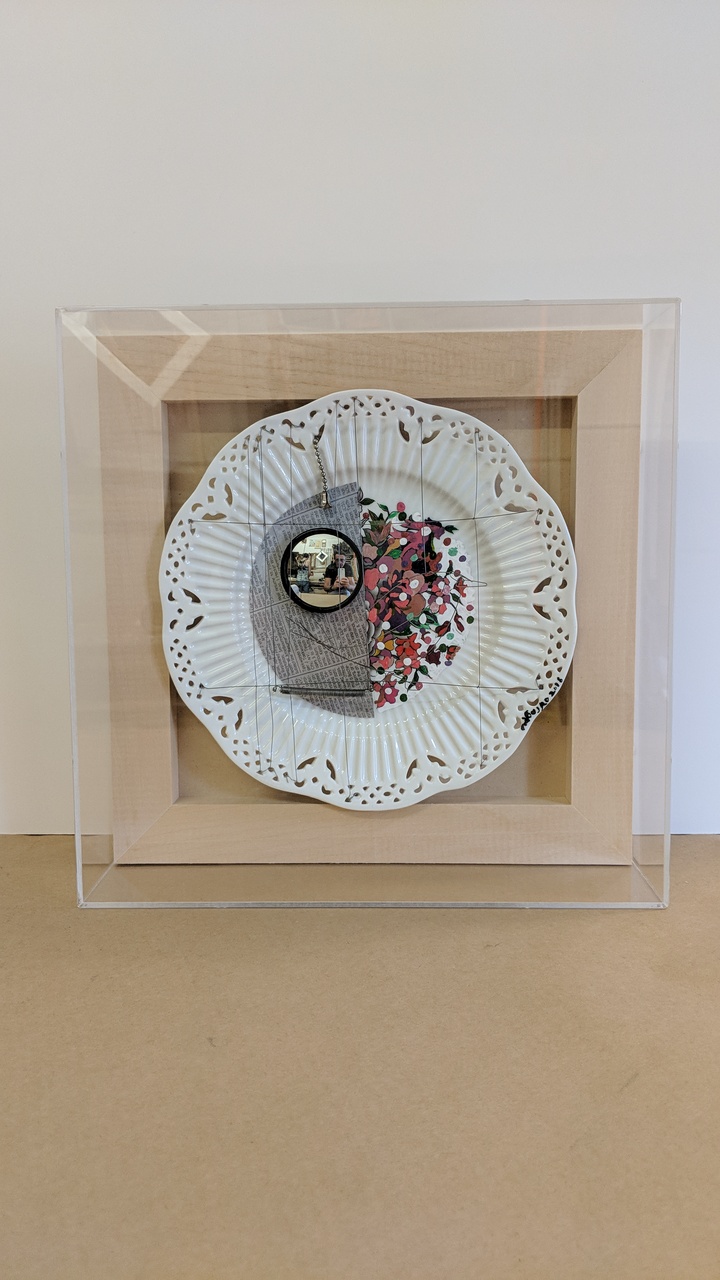
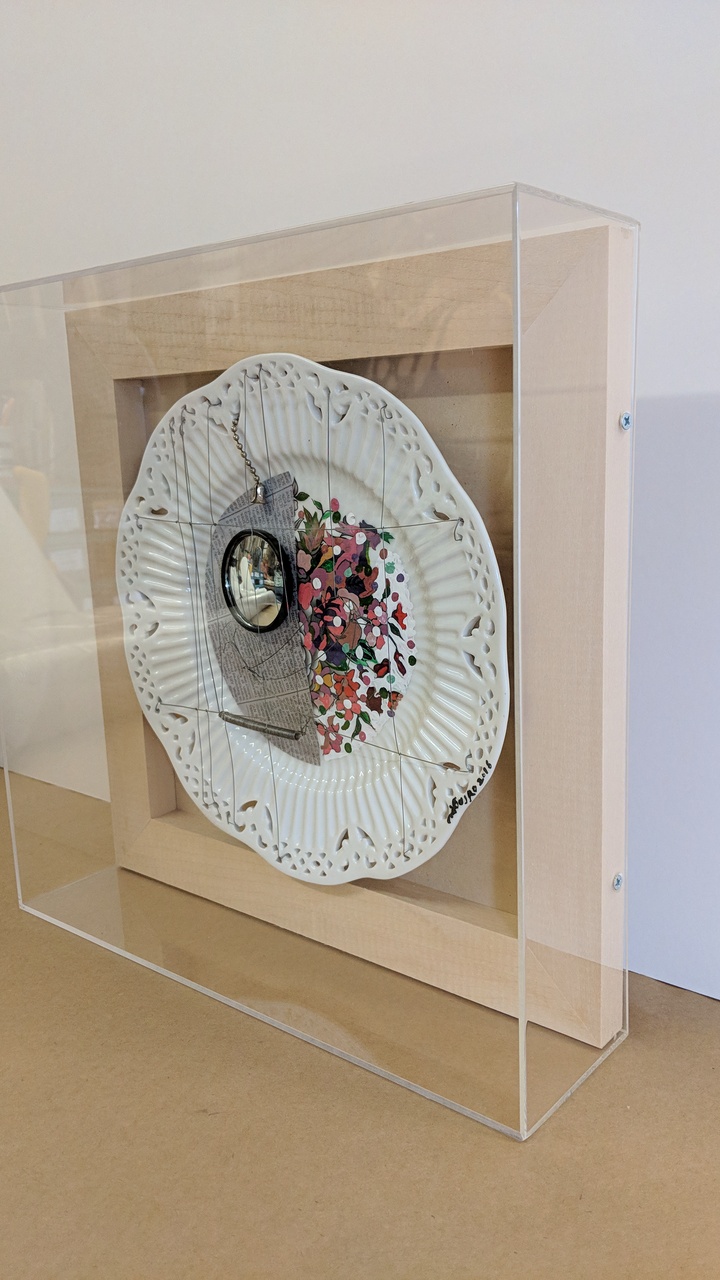
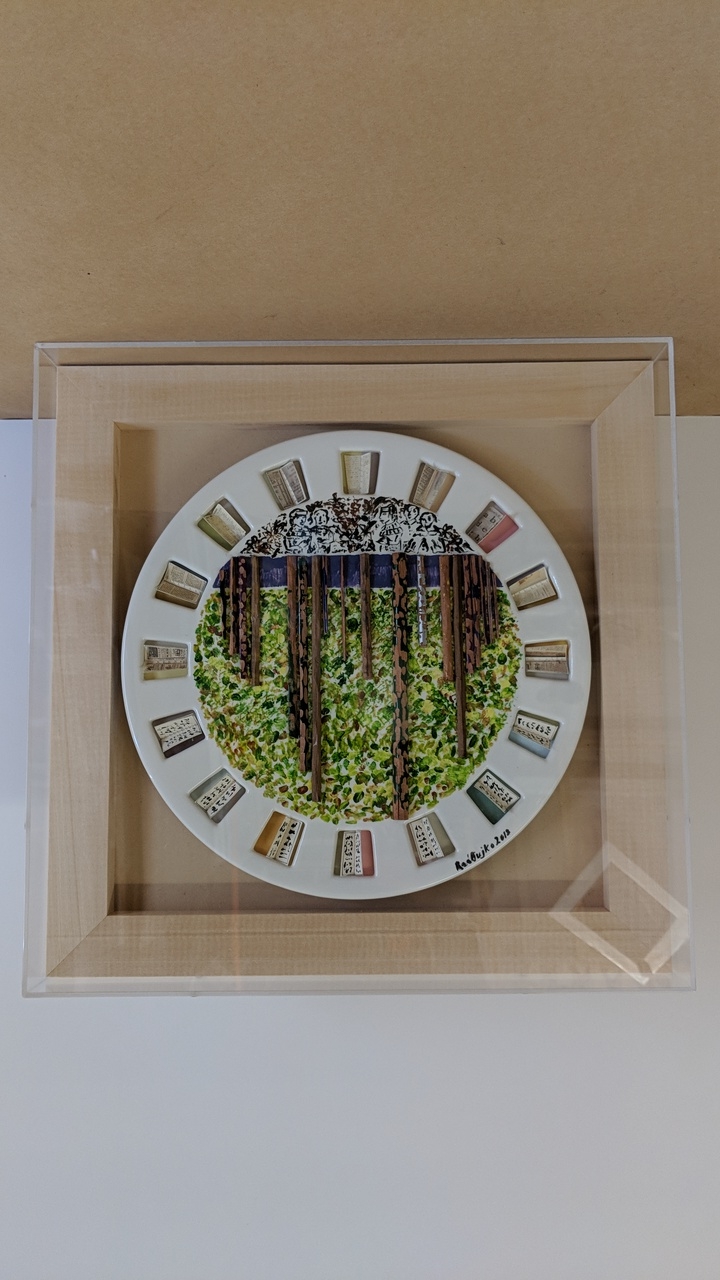
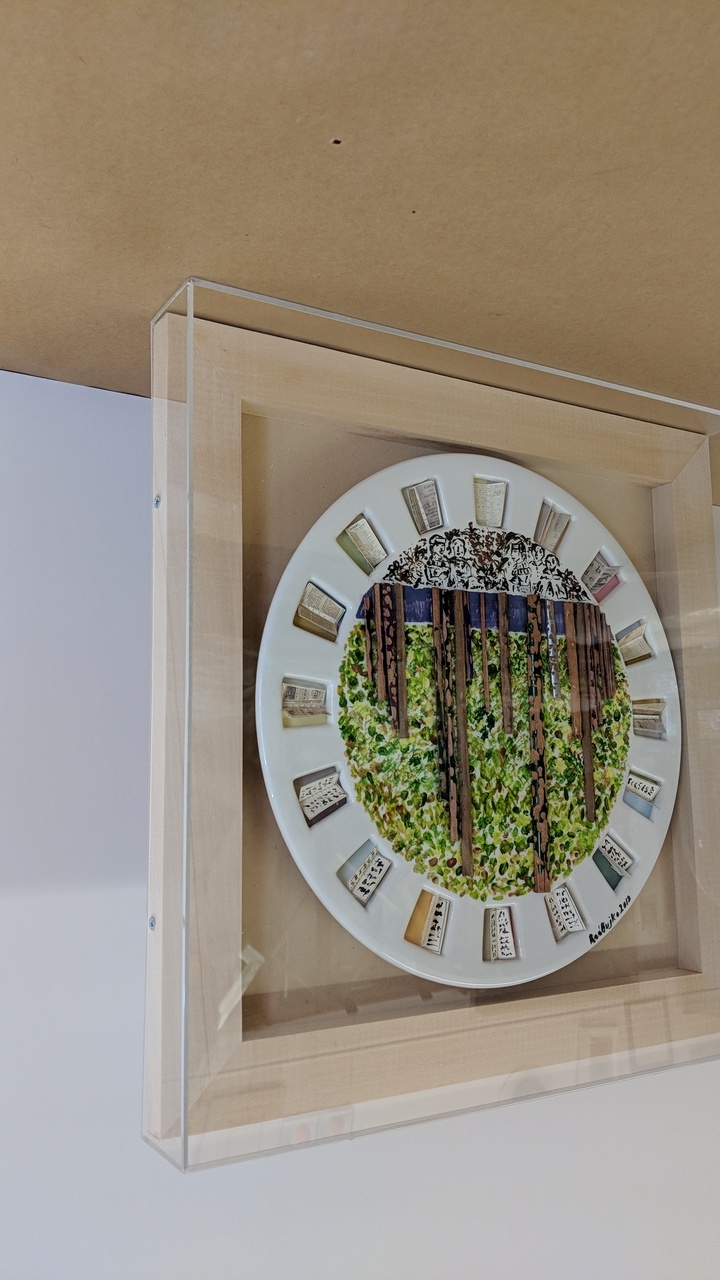
Then Richard came in, bringing with him “Chords: Text (After Gutenberg)." The final piece showed incredible growth. Bright colors highlighted architectural shapes and letters taken from the Gutenberg bible.
Upon completing the framing we returned to Yale. Once again we took the original artwork down. Richard's piece went up and the effect was immediate, the space changed. It fit into the architecture, with the frame blending in seamlessly. In a room with many windows, the piece still managed to bring in a new vibrancy and light.
-Shaylynn McGrory can be reached at shaylynn@dasilva-gallery.com